So, you've set your sights on owning a piece of the vanilla.valley family? Fantastic! We're here to walk you through the process, step by step, to make sure you acquire and store your NFTs with confidence and ease.

Step 1: Purchase Your NFT via the "Buy" Button
The journey begins with a simple click—find the "Buy" button associated with the NFT you desire, and you're on your way to owning five precious vanilla plants.
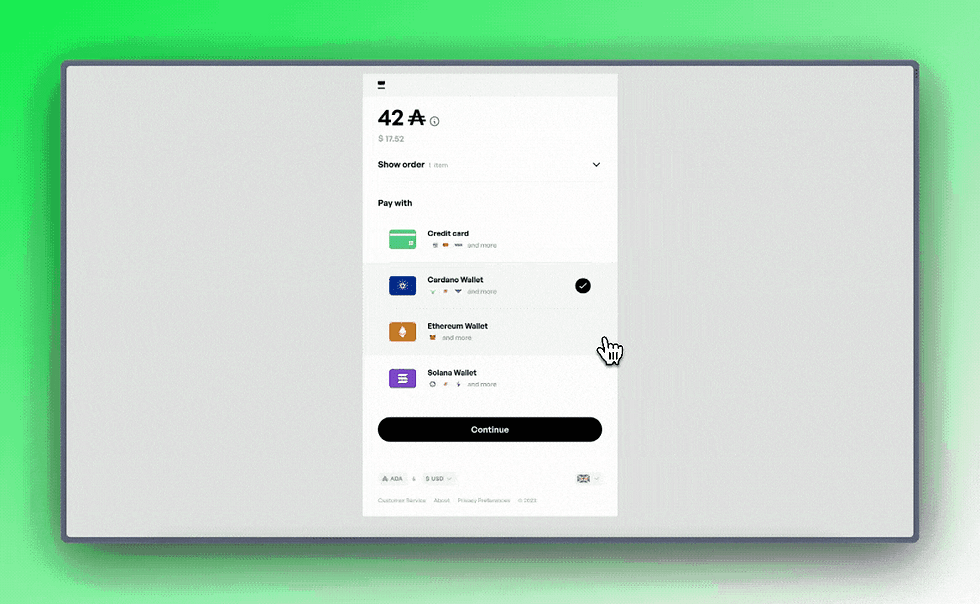
Step 2: Payment Options - Crypto or FIAT
Here at vanilla.valley, we offer you flexibility when it comes to payment:
For those familiar with cryptocurrency, you can use your own wallet to make the payment. Simply select this option during the purchase process.
Follow the prompts to send the required cryptocurrency amount to the provided wallet address. This secure and direct method ensures you have complete control over your transaction. you can use ETH, SOL and ADA.
Option 2: Pay with FIAT / credit card / traditional currencies (Receive Custodial Wallet via Email)
If you prefer the ease of USD, we've got you covered. Choose this option, and we'll send you a temporary self-custodial wallet via email. Keep the browser open, this can take up to 10min as the NFT is freshly minted.
Use this temporary wallet to complete the purchase with your fiat currency. It's a convenient way to get started if you're new to the world of crypto.
More about the safety and use of the custodial wallet here from our partner crossmint: LINK
Step 3: Receiving Your NFT
Once your payment is confirmed, it's time to receive your vanilla.valley NFT:
a) If you paid with cryptocurrency, your NFT will be sent directly to your wallet. It's securely yours to hold and admire.
b) If you opted for the FIAT payment method, check your email for details on how to access your self-custodial wallet. Your NFT will be waiting for you inside.
Getting a Wallet (e.g. Yoroi, Nami)
Now, you might be wondering where to store your newly acquired NFTs. That's where a digital wallet like Yoroi or Nami comes into play - here is a good list of wallets that can be used:
Step 1: Install Nami (for mobile use Yoroi)
Visit the Nami website and follow the instructions to install the wallet extension on your preferred web browser.
Create an account and set a secure password.
Step 2: Add Your NFT to Nami
Click on the "Add Token" option within your Nami wallet.
Enter the NFT contract address provided by VanillaValley.
Voilà! Your NFT is now safely stored in your Nami wallet, ready to be showcased or traded as you wish.
That's it! You've successfully purchased and securely stored your vanilla.valley Token. We hope you enjoy the journey as much as the destination, and we're thrilled to have you as part of our community. Happy impacting!
Comments